Creating a new workspace
To create a new workspace,- Open the dropdown menu in the top left of the Pipedream dashboard
- Select New workspace
- You’ll be prompted to name the workspace (you can change the name later)
Workspace settings
Find your current workspace settings like current members, under the Settings navigation menu item on the left hand side. This is where you can manage your workspace settings, including the workspace name, members, and member permissions.Inviting others to a join a workspace
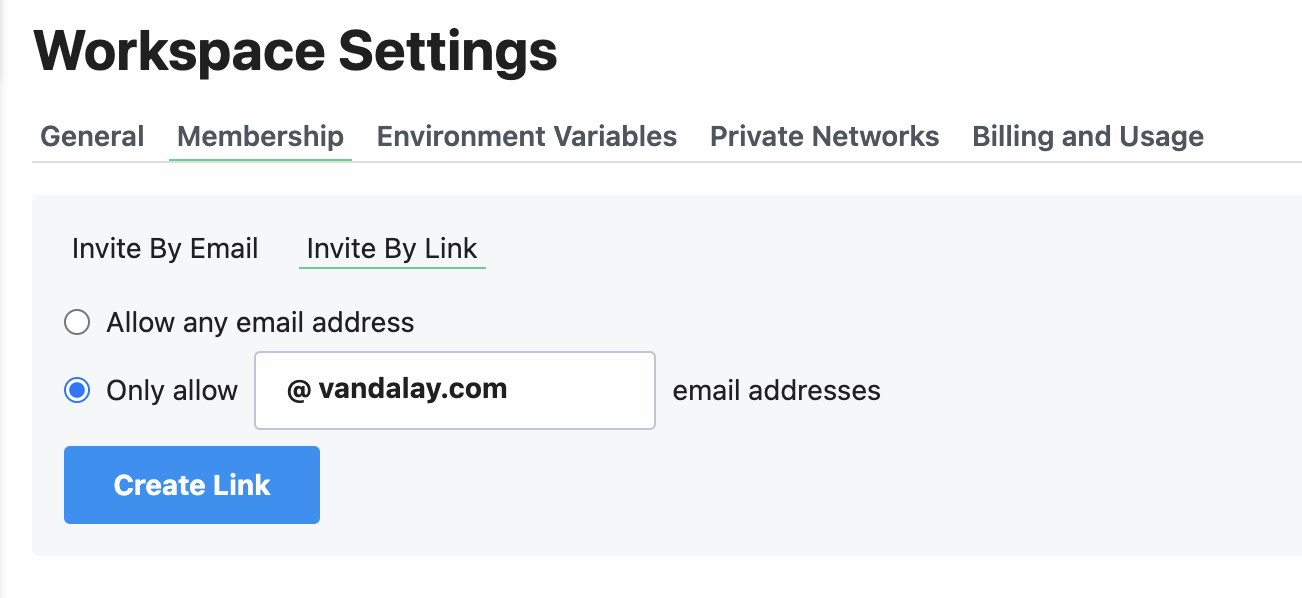
After opening your workspace settings, open the Membership tab.- Invite people to your workspace by entering their email address and then clicking Send
- Or create an invite link to more easily share with a larger group (you can limit access to only specific email domains)
Managing member permissions
Pipedream workspaces have three roles: Owner, Admin, and Member. Each role has different levels of access to workspace settings and resources.Role overview
| Role | Description |
|---|---|
| Owner | Full control over the workspace, including the ability to delete the workspace and manage other owners. A workspace can have multiple owners. |
| Admin | Can manage workspace settings, members, and security configurations, but cannot delete the workspace or manage owners. |
| Member | Basic access to view workspace details and work with resources based on project-level permissions. This is the default role for new members. |
Permissions by role
| Action | Owner | Admin | Member |
|---|---|---|---|
| Workspace management | |||
| Delete workspace | ✓ | ||
| Update workspace settings (name, notifications) | ✓ | ✓ | |
| View workspace details | ✓ | ✓ | ✓ |
| User management | |||
| Invite users | ✓ | ✓ | ✓ |
| Remove non-owners (admins or users) | ✓ | ✓ | |
| Remove owners | ✓ | ||
| Grant or revoke admin role | ✓ | ✓ | |
| Grant or revoke owner role | ✓ | ||
| Leave workspace (remove self) | ✓ | ✓ | ✓ |
| Security settings | |||
| Configure SSO | ✓ | ✓ | |
| Require MFA | ✓ | ✓ |
Project-level permissions use a separate access control system with Creator, Editor, and Viewer roles. See Project access controls for details.
Promoting a member to admin
To promote a member to an admin level account in your workspace, click the 3 dots to the right of their email and select “Make Admin”.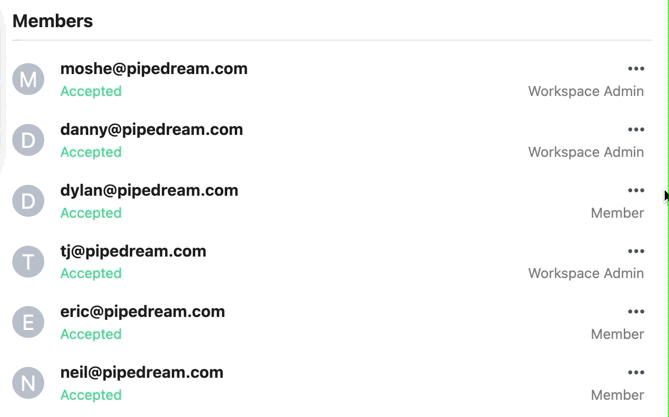
Demoting an admin to a member
To demote an admin back to a member, click the 3 dots to the right of their email address and select “Remove Admin”.
Finding your workspace’s ID
Visit your workspace settings and scroll down to the API section. You’ll see your workspace ID here.Requiring Two-Factor Authentication
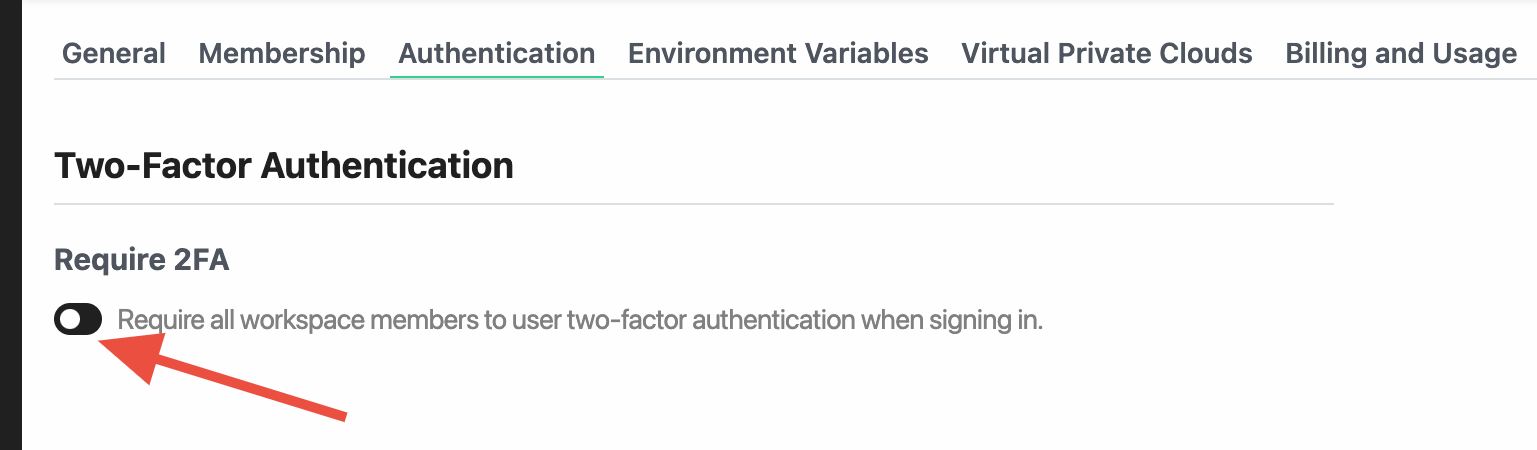
As a workspace admin or owner on the Business plan, you’re able to require that all members in your workspace must enable 2FA on their account.- Open the Authentication tab in your workspace settings (you must be an admin or owner to make changes here)
- Make sure you’re in the correct workspace
- Click the toggle under Require 2FA — this will open a confirmation modal with some additional information
- Once you enable the change in the modal, all workspace members (including admins and owners) will immediately be required to configure 2FA on their account. All new and existing workspace members will be required to set up 2FA the next time they sign in.
Configuring Single Sign-On (SSO)
Workspaces on the Business plan can configure Single Sign-On, so your users can login to Pipedream using your identity provider. Pipedream supports SSO with Google, Okta, and any provider that supports the SAML protocol. See the guides below to configure SSO for your identity provider:SCIM
Pipedream supports provisioning user accounts from your IdP via SCIM. Any workspace on the Business plan can configure Single Sign-On with SCIM.Renaming a workspace
To rename a workspace, open your workspace settings and navigate to the General tab. Click the save button to save the changes.Only workspace owners and admins and rename a workspace.
Deleting a workspace
To delete a workspace, open your workspace settings and navigate to the Danger Zone. Click the Delete workspace button and confirm the action by entering in your workspace name anddelete my workspace into the text prompt.
Only workspace owners can delete a workspace.